

Creating & Editing Permission Groups
Creating & Editing Permission Groups
Section titled “Creating & Editing Permission Groups”Create groups from Account → Permission Groups → Create group; edit by clicking any group row. Both pages share the same layout: Details, an optional Base template, the permission matrix, and (on edit) the Assigned users panel. Owner-only.
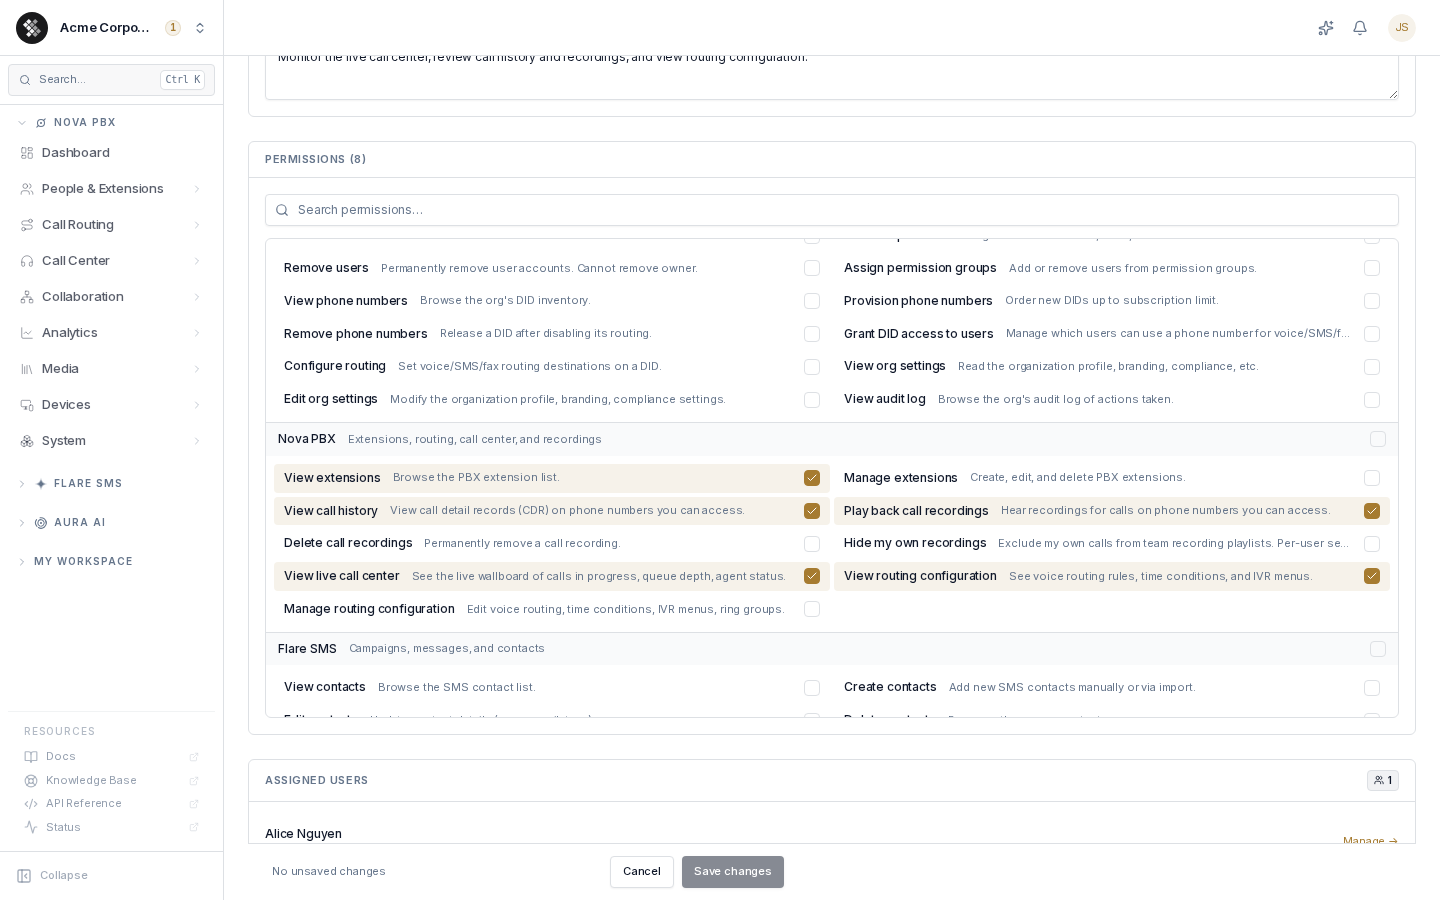
Creating a group
Section titled “Creating a group”- Click Create group on the Permission Groups page.
- Give it a name (required) and an optional description of who it’s for.
- Optionally pick a base template (see below).
- Select at least one permission in the matrix.
- Click Create group — you land on the new group’s edit page.
The permission matrix
Section titled “The permission matrix”The matrix lists every permission in the platform, grouped by category (Account, Nova PBX, Flare SMS, Personal), each with a plain-language name and description.
- Search filters by name or key as you type.
- Click a category header to toggle the entire category on or off at once.
- Click any row to toggle a single permission.
- The list scrolls within its own panel — categories below the fold are reached by scrolling inside the matrix, not the page.
- The Permissions (n) counter in the section header always reflects the current selection in the form, not what’s saved.
Extending a base template
Section titled “Extending a base template”Instead of starting from scratch, pick a system template under Base template (optional). The matrix pre-fills with the template’s permissions, and the rows show diff badges as you customize:
| Badge | Meaning |
|---|---|
| inherited | Comes from the base template. |
| + added | You granted it on top of the base. |
| − removed | In the base, but you removed it for this group. |
Only the diff is stored — when SIPSTACK adds new permissions to the base template later, your group inherits them automatically. The base is pinned at creation time and can’t be changed afterwards.
Editing a group
Section titled “Editing a group”Change the name, description, or permission selection, then click Save changes in the sticky bar (it appears as soon as anything is dirty; Cancel reverts everything). Changes apply immediately to every assigned user — no reassignment needed.
System groups
Section titled “System groups”Groups with the System lock badge are managed by SIPSTACK: all fields are read-only, the save bar never appears, and the delete menu is hidden. You can still assign them to users.
Assigned users
Section titled “Assigned users”The panel at the bottom lists everyone who currently has this group, with a Manage → link to each user’s detail page. Assignment itself happens on the user side: Account → Users → user → Permissions tab.
Deleting a group
Section titled “Deleting a group”Open ⋯ More → Delete group. The dialog states how many users will lose the group’s permissions and requires typing the group’s name to confirm. Affected users keep their accounts but revert to role-default capabilities until another group is assigned.
Common questions
Section titled “Common questions”The Create button does nothing. Check the inline validation — a name and at least one permission are required.
I can’t find a permission I saw elsewhere. Use the search box; permissions are named in plain language (e.g. “View team members”), not by their internal key.
Does a group grant product access? No — product (seat) access is granted per user on the user’s Service access tab. Groups control what users can do in the portal.