

Managing Users
Managing Users
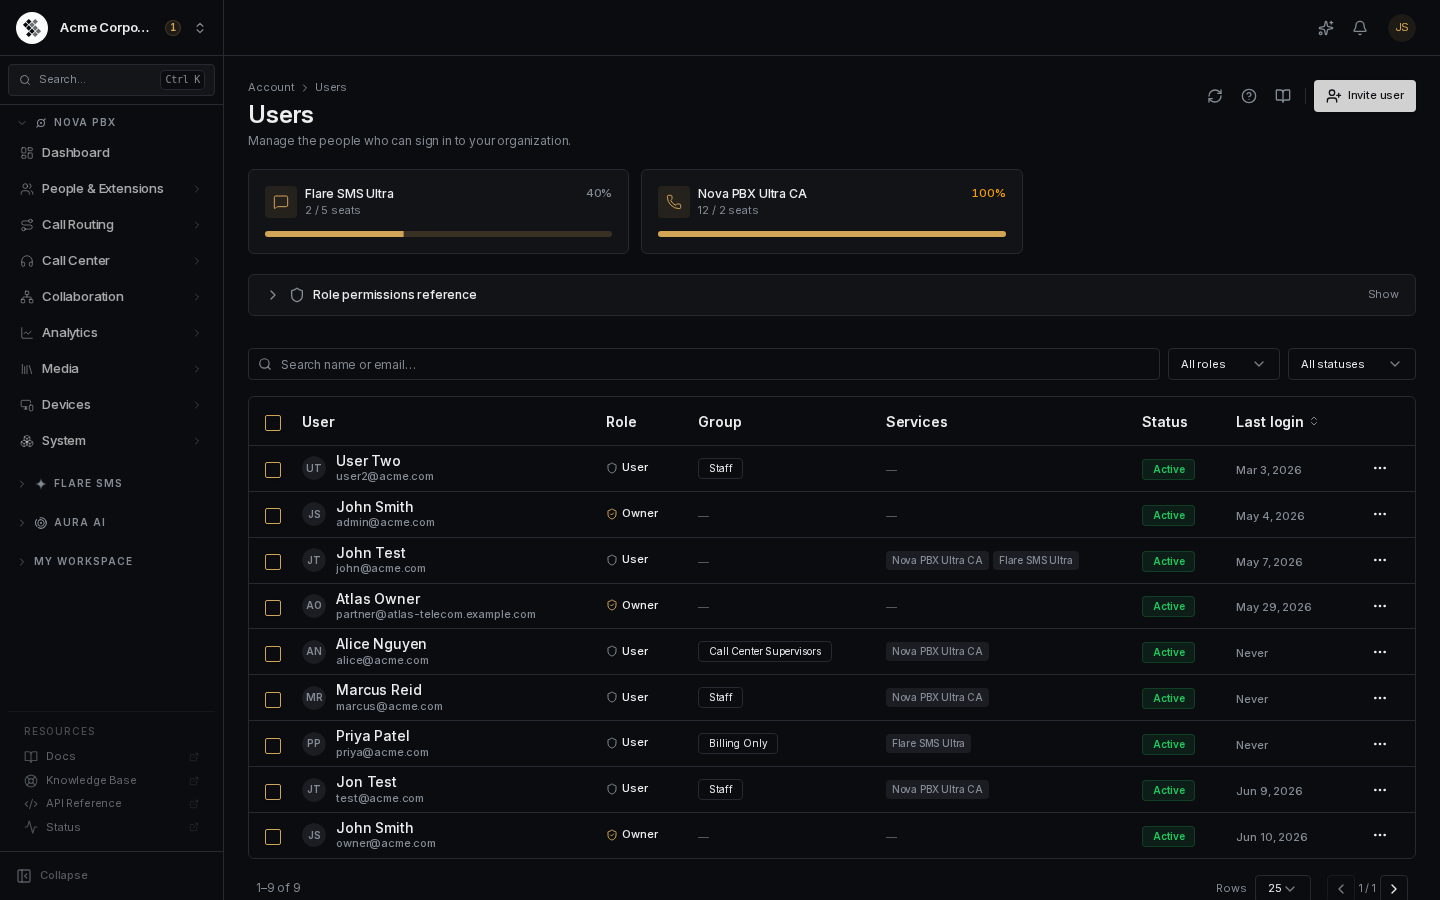
Section titled “Managing Users”The Users page is the sign-in roster for your organization — every person who can authenticate to SIPSTACK. From here you handle the whole lifecycle: invite, deactivate/reactivate, reset passwords, and delete. Navigate via the sidebar: Account → Users.
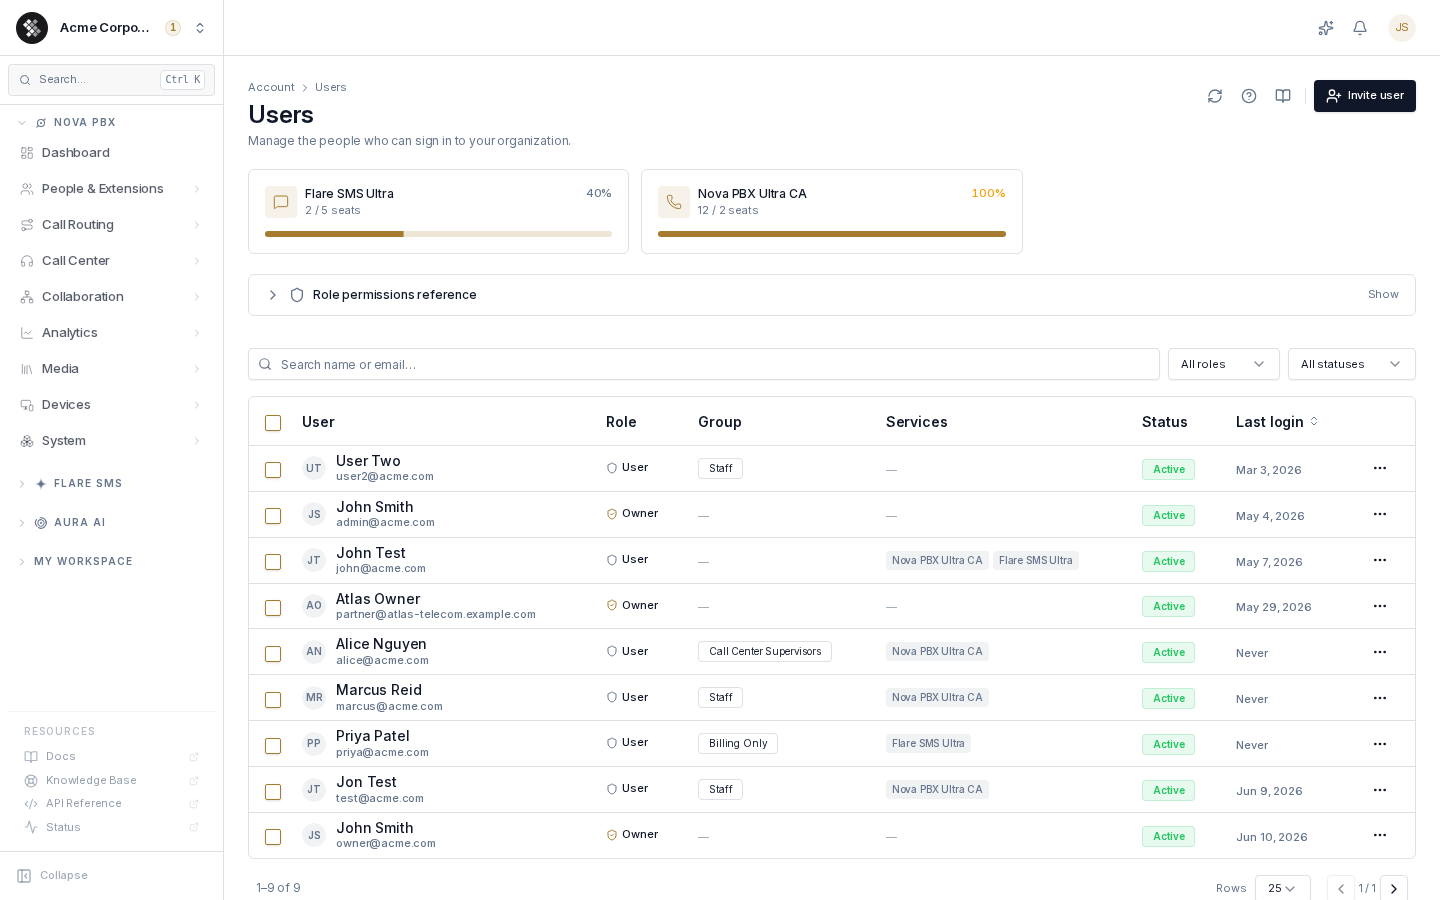
Every user has one of two roles:
| Role | Capabilities |
|---|---|
| Owner | Full administrative control — billing, subscriptions, user management, and all organization settings. Owners bypass permission-group checks entirely. An organization always has at least one owner. |
| User | Default role. Can sign in and use the products they’ve been granted access to. Gated actions (billing, settings, user management, recordings, …) require a permission group that grants them. |
In the table, a filled gold shield marks an Owner; an outline shield marks a User.
The collapsible Role permissions reference panel above the table summarizes exactly what each role can do without leaving the page.
Seat usage
Section titled “Seat usage”The cards at the top show seat consumption per subscription (e.g. Flare SMS Ultra — 2 / 5 seats). Assigning a user to a subscription consumes a seat; deactivating or deleting the user frees it. When a subscription is at capacity you can’t assign more users until you add seats or unassign someone.
The users table
Section titled “The users table”| Column | Meaning |
|---|---|
| User | Name, email, and avatar initials. Click the row to open the user’s detail page. |
| Role | Owner or User. |
| Group | The permission group(s) assigned to the user — blank for users with no group (role defaults only). |
| Services | Subscriptions this user can access. |
| Status | Active (can sign in) or Suspended (cannot sign in; data preserved). |
| Last login | Last successful authentication. “Never” means they haven’t signed in yet. |
Filter by Role and Status from the toolbar; active filters appear as removable chips. The search box matches name or email.
Inviting a user
Section titled “Inviting a user”- Click Invite user in the top-right.
- Enter their email, optional first/last name, and a role.
- Set an initial password. Passwords must be at least 12 characters and include an uppercase letter, a lowercase letter, a number, and a special character.
- Leave Active immediately on (default) unless you want to review before enabling sign-in.
- Click Create user — you land on the new user’s detail page to fine-tune access.
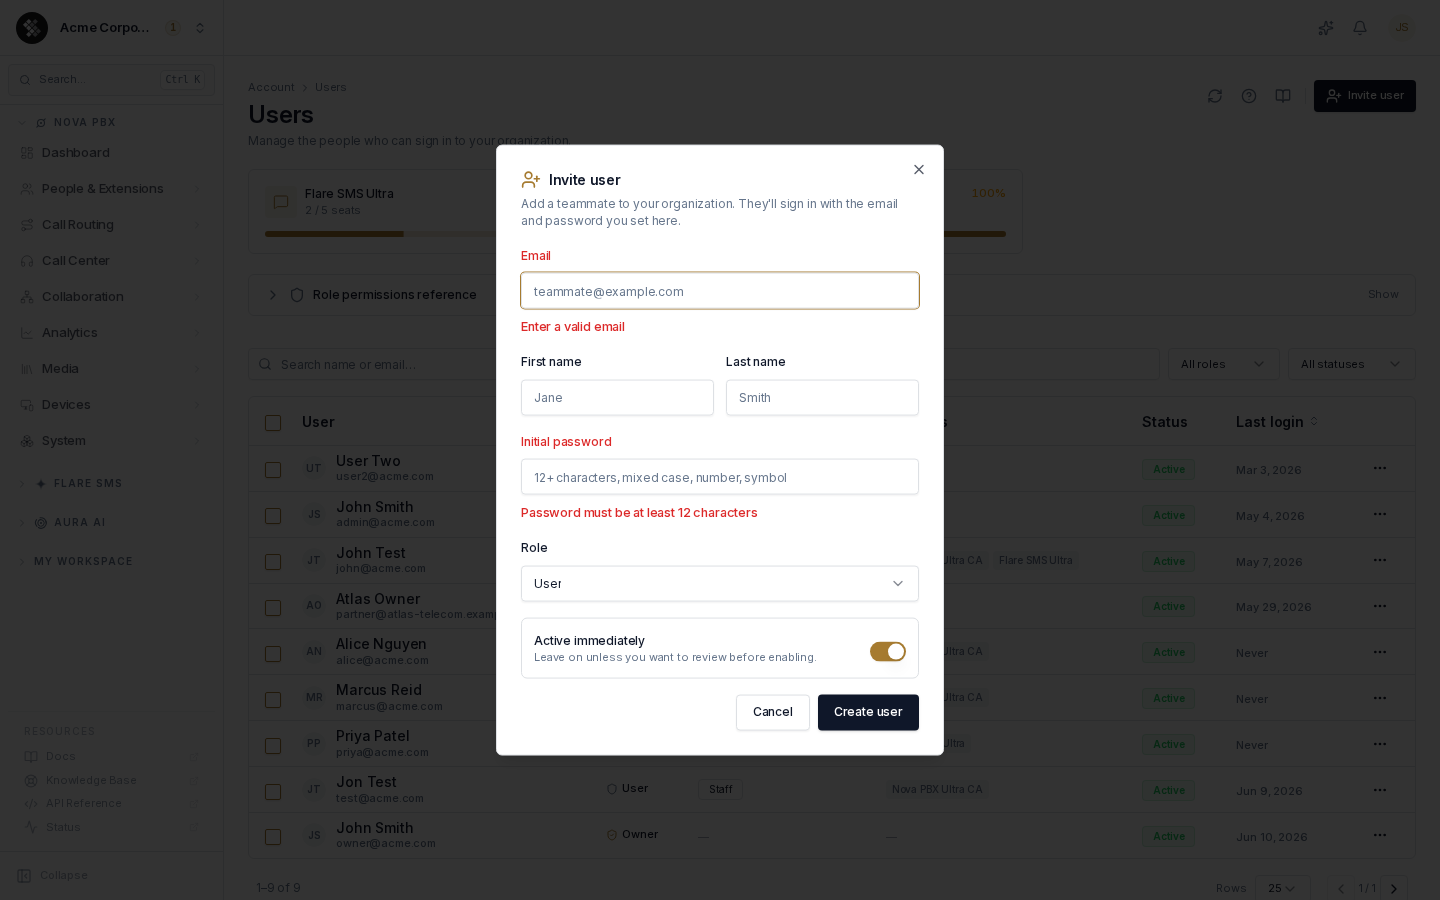
The new user signs in with the email + password you set; share the password with them through a secure channel. They are automatically granted access to all of your active subscriptions — adjust on their detail page if that’s too broad.
Per-row actions
Section titled “Per-row actions”The ⋯ menu on each row:
| Action | Behavior |
|---|---|
| Manage | Opens the user’s detail page. |
| Reset password | Set a new password for the user (same 12-character strength rules). They receive an email notification and must change the password on their next sign-in. |
| Delete user | Removes the user’s access. Type their email address to confirm. You cannot delete yourself. |
Bulk actions
Section titled “Bulk actions”Select multiple rows with the checkboxes to reveal bulk actions:
- Activate — re-activates every suspended user in the selection.
- Deactivate — suspends every active user in the selection. Your own account is always skipped.
- Delete — deletes the selected users after a confirmation dialog. Owners and your own account are excluded from bulk delete; handle those individually.
If a bulk operation partially fails, a warning toast reports the exact counts — nothing is left silently half-applied.
Common questions
Section titled “Common questions”Why can’t I deactivate or delete myself? Self-lockout protection. Ask another owner to do it.
A user shows “Never” for Last login but I know they signed in. The column tracks successful password sign-ins only; some authentication paths don’t update it.
What happens to a suspended user’s phone extension? The extension stays assigned, but the user can’t sign in to Pulse or Switchboard. Re-activate to restore access, or reassign the extension under Nova PBX → Extensions.