

Partner Onboarding
Onboarding for a freshly approved partner is driven by the Getting Started checklist on the Dashboard. It is derived and jurisdiction-aware — each step shows as done, action required, or pending review, and an action-count badge on the Dashboard sidebar item tracks what is left. The checklist disappears on its own once every step is complete.
The steps:
- Payout account (Stripe Connect) — connect your bank so commissions can transfer. See Stripe Connect Setup.
- Tax identity — registration status, business number, and jurisdiction on Settings → Tax.
- Self-billing (RCTI) — confirm the self-billing arrangement that lets SIPSTACK issue tax invoices on your behalf (registered Canadian partners). See How Commission Tax Works.
- Public profile — logo, bio, services, and coverage so you can list on the partner directory.
- First customer — send your first invitation or land a referral-link signup.
The Payout Setup page
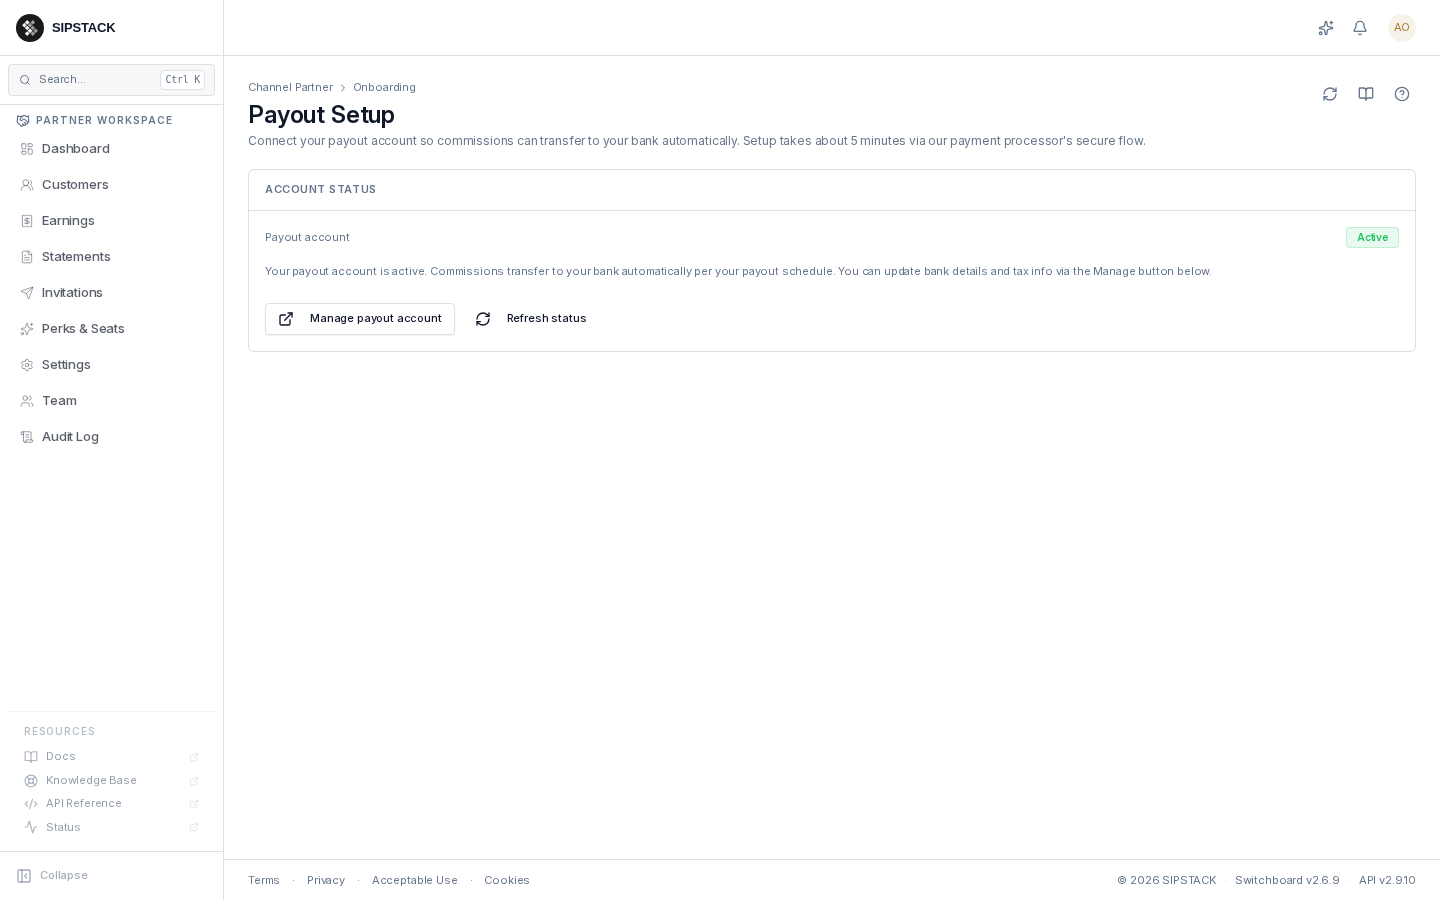
Section titled “The Payout Setup page”The Onboarding page itself (titled Payout Setup) handles the Stripe Connect step: it shows your payout-account status and the Set up payout account / Continue setup / Manage payout account actions, which hand off to Stripe’s hosted flow and return you here.
If you get stuck on any step, email partners@sipstack.com.
Related: Settings, Stripe Connect Setup.