

Quick Start Guide
Quick Start Guide
Section titled “Quick Start Guide”This guide gets you from a fresh account to your first live call in five steps. If you have not created your account yet, start with Account Setup.
Before You Begin
Section titled “Before You Begin”You will need:
- A SIPSTACK account with a Nova PBX subscription or trial — if you skipped the Nova add-on at signup, add it from Account → Subscriptions → Add Nova PBX (how)
- A phone to register: a supported desk phone (Yealink, Grandstream, Poly), the Pulse mobile app, or a SIP softphone
Step 1 — Add Your First Extension
Section titled “Step 1 — Add Your First Extension”An extension is a numbered SIP endpoint — each person who makes and receives calls needs one.
- In the sidebar, open Nova PBX → People & Extensions → Extensions.
- Click Add extension in the top-right.
- Enter an extension number (3–10 digits, e.g.
1001), a display name, and an optional email (used for voicemail-to-email). - Click Create extension.
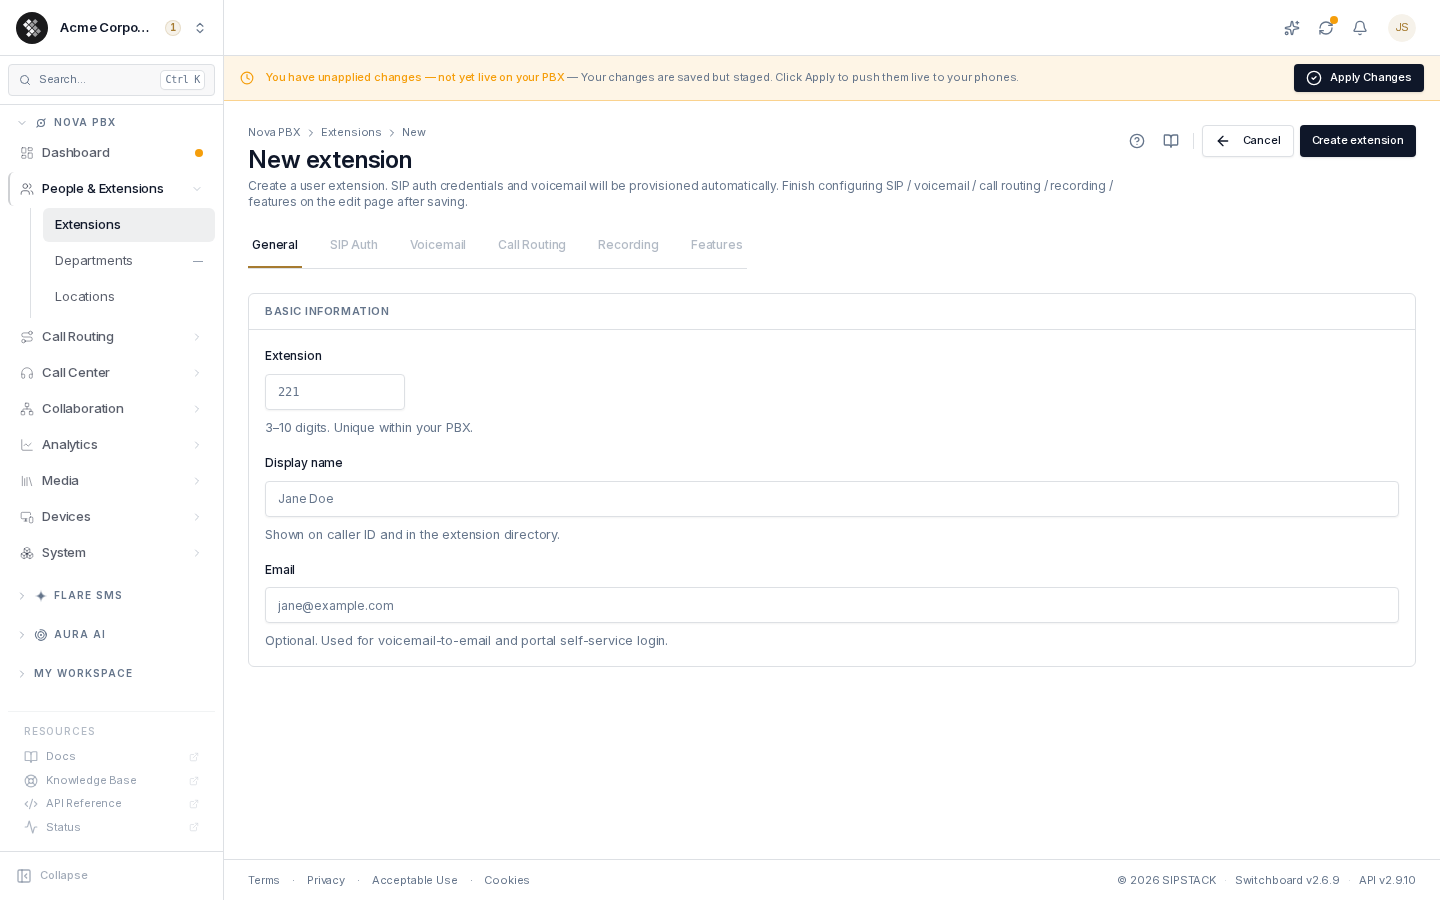
SIP credentials and a voicemail mailbox are provisioned automatically, and you land in the extension editor to fine-tune the rest.
Step 2 — Connect a Phone
Section titled “Step 2 — Connect a Phone”Pick whichever endpoint your team uses:
- Desk phone — register it under Nova PBX → Devices and let zero-touch provisioning configure it on boot (Yealink, Grandstream, and Poly are supported). See Devices.
- Pulse mobile app — on the extension’s General tab, use Pulse mobile pairing to generate a one-time QR code and sign the paired user in without a password. See the extension editor.
- SIP softphone — the extension’s SIP Auth tab shows its SIP username (
{tenant}-{extension}, e.g.acme-1001) and lets an owner reveal the SIP password to enter into the softphone.
The extension’s row on the Extensions page reflects registration through its Status, and your own registration shows in My Workspace → My phone.
Step 3 — Buy a Phone Number
Section titled “Step 3 — Buy a Phone Number”A phone number (DID) lets external callers reach your PBX.
- Open the account switcher (your company name, top-left) and go to Phone Numbers.
- Click Buy numbers.
- Search by 3-digit area code, pick a number from the results, and confirm the order.
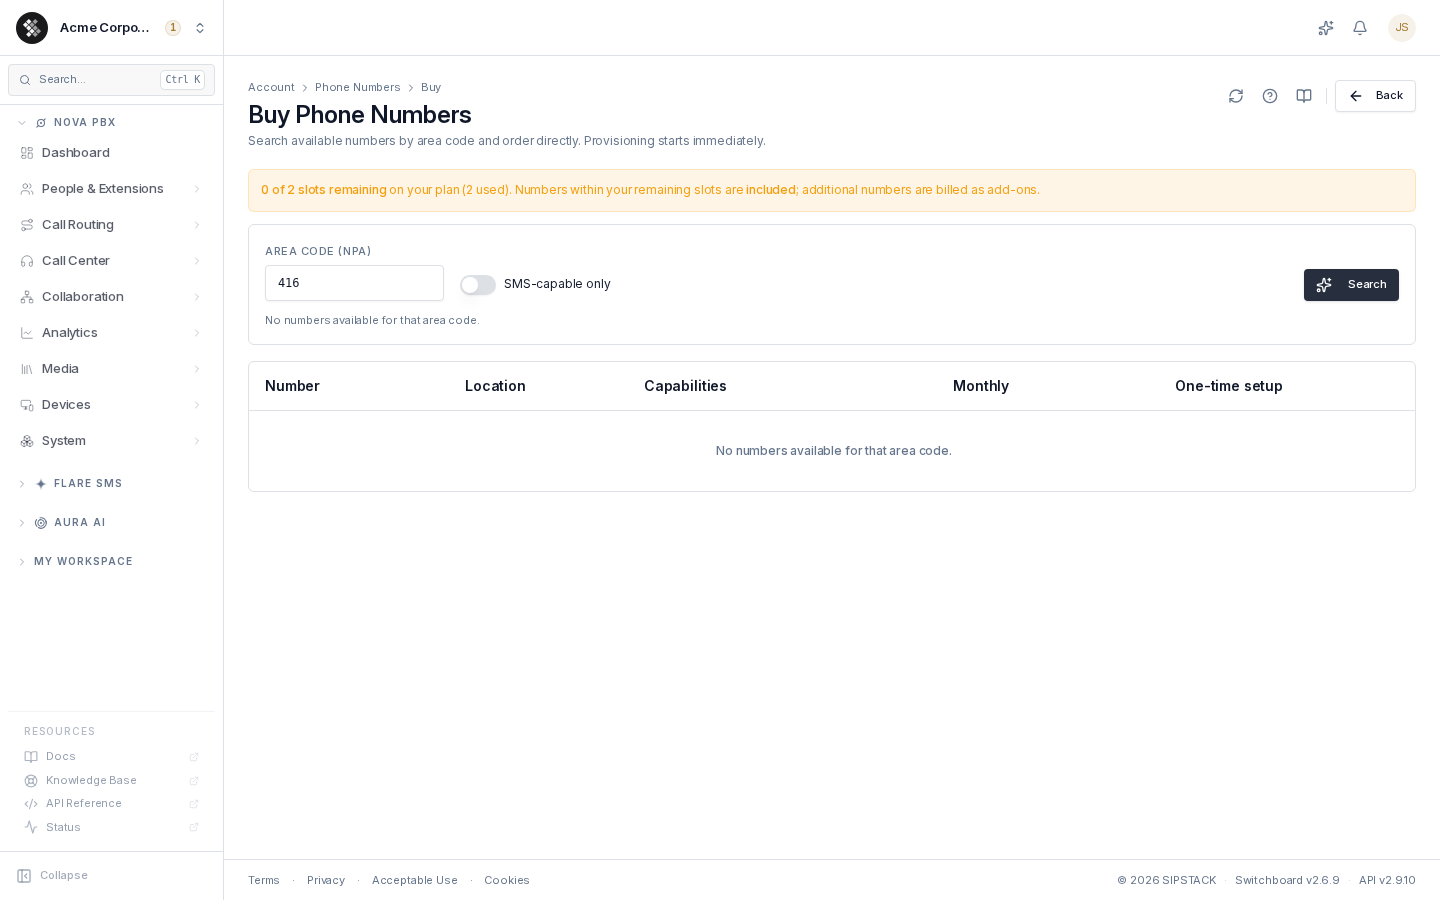
Most numbers are live within a few minutes. The banner above the search tells you whether numbers are included in your plan or billed as add-ons — see Buying Numbers. Already have a number with another carrier? Port it in instead.
Step 4 — Route the Number to Your Extension
Section titled “Step 4 — Route the Number to Your Extension”An inbound route maps a number to a destination: “when somebody dials this number, send the call here.”
- Open Nova PBX → Call Routing → Inbound Routes.
- Click Add route and pick your new phone number.
- Choose the destination — your new extension (a ring group, queue, IVR, or AI voice agent also work).
- Click Create route, then Apply Changes in the pending-changes banner.
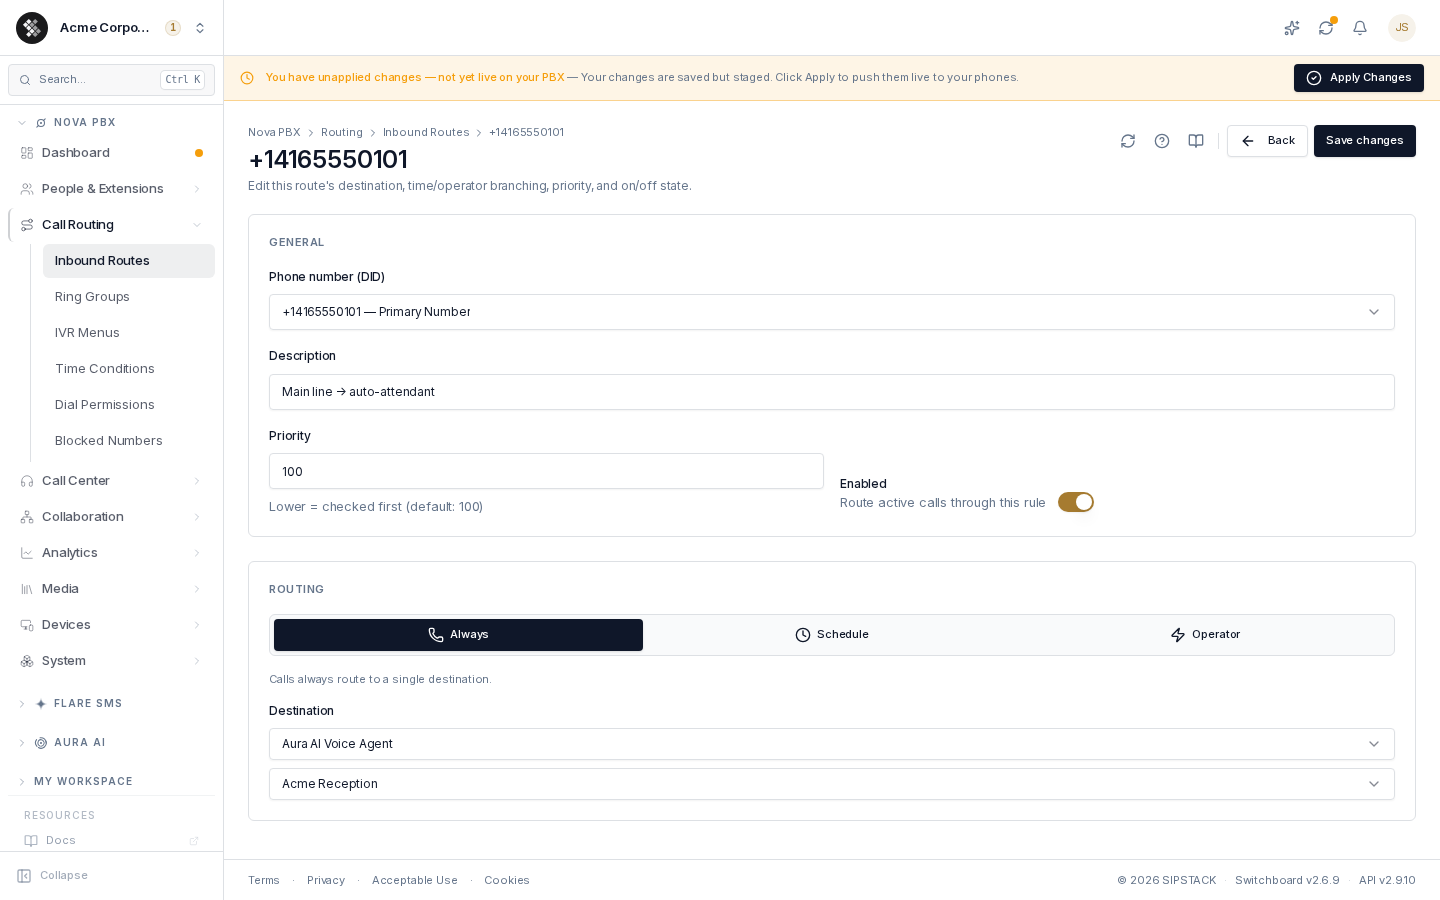
See Inbound Routes for schedules (business hours vs. after hours) and operator-controlled modes.
Step 5 — Make Your First Call
Section titled “Step 5 — Make Your First Call”With the extension registered, changes applied, and a number routed:
- Inbound test: Call your new number from a mobile phone — your registered phone should ring.
- Outbound test: Dial an external number from the extension. You should hear ringing and two-way audio.
- Internal test: If you created two extensions, dial one from the other using just the extension number (e.g. dial
1002from1001).
If a call does not connect, see Common Issues and Network & Firewall — the usual culprits are an un-applied commit, an unregistered device, or SIP ALG on your router.
What’s Next
Section titled “What’s Next”- Build an IVR menu and time conditions — “press 1 for sales”, business-hours routing
- Set up voicemail — greetings and voicemail-to-email
- Invite your team — add users and pair them to extensions
- Let AI answer the line — route a number to an Aura voice agent
- Explore Flare SMS — add business texting on the same numbers